Monday, August 27, 2012

Corn and Tomato Salad with Cilantro Dressing


For comments, please post below or email to cookingwithlarue@gmail.com

Corn and Tomato Salad with Cilantro Dressing
Serves: 6


Corn and Tomato Salad with Cilantro Dressing 
This is a fabulous fresh summer scrumptious salad. It all depends on using your very best fresh corn and tomatoes from a Farmers Market. The ingredients are the recipe. Now is the time while the summer months remain warm and corn and tomatoes are at their peak. Since the corn in this salad is raw, be sure to use only fresh, sweet, tender corn you've shucked yourself (or, I suppose, very nicely asked someone to shuck for you). This is so very versatile. Add black beans or serve over whole grains, or as a salsa with grilled fish or chicken. Or, serve as a standalone salad to accompany grilled burgers or steaks for a simple weeknight meal. There is nothing easier! It is the perfect Farm-to-Table dish!
The most important ingredient!
I love cilantro so this dressing really calls out to me. If cilantro is not your favorite, basil could be substituted. The taste of mint gives the salad a fresh kick that is complimentary to the cilantro or basil. The salad can be assembled in advance but add the dressing just before serving. If any dressing leftover, use it as a marinade for fish or chicken the next day.
  • 3 C fresh corn kernels (from 6 small ears of corn)
  • 5 medium tomatoes, halved, seeded, chopped, or halved pint of cherry tomatoes
  • 2/3 C finely chopped red onion
  • ¼ C extra-virgin olive oil
  • ¼ C chopped fresh cilantro (or basil)
  • 2 Tb chopped fresh mint
  • 2 Tb white wine vinegar
  • 1½ Tb fresh lime juice
  • 2 tsp level packed golden brown sugar
  • 1 garlic clove
  • salt and pepper
Slice the kernels off 6 ears of corn. This is most easily done by placing an ear on a Bundt pan while slicing so kernels fall into the pan and not all over your kitchen. You should have about 3 C when finished. Halve, seed and then chop 5 medium ripe tomatoes or cut in half one pint of cherry tomatoes. Add 2/3 C finely chopped red onion to the bowl and mix all gently. The salad can be made ahead at this point and stored in the refrigerator.


A variety of halved tomatoes gives the salad bright colors

To make the dressing, in a blender, puree until smooth: ¼ C extra-virgin olive oil, ¼ C chopped fresh cilantro, 2 Tb chopped fresh mint, 2 Tb white wine vinegar, 1½ Tb fresh lime juice, 2 tsp golden brown sugar, and 1 garlic clove. Puree. Taste and add salt and pepper as needed. Just before serving, pour dressing over the corn mixture and gently toss.
Cilantro dressing

This is quick and easy to prepare. I love the full flavor and crunch provided by the raw corn, the sweetness of the tomatoes and bite from red onion. The cilantro dressing with lime and mint really gives a fresh summer taste. Pour a glass of Sauvignon Blanc, sit back, relax and enjoy a truly summer-y fresh dish.

Bon Appetit!
Larue 

Tuesday, August 21, 2012

Mexican Style Shrimp Cocktail

For comments, please post below or email to cookingwithlarue@gmail.com

Mexican Style Shrimp Cocktail
Serves: 6
Mexican style shrimp cocktail 
Ditch the usual American shrimp cocktail found in the grocer aisle – pre-made and often with overcooked shrimp that is typically served with horseradish sauce, and give this one a try. Mexican cuisine has its own rendition, with some similarities but trades out the horseradish for hot sauce and really amps up the seafood flavor with clam juice. There is no finer antidote to hot weather than this Mexican version of the shrimp cocktail. Served in a margarita glass, pilsner or tall parfait glass, it makes an excellent appetizer, party fare or light luncheon. In Mexico, it is traditionally served with saltine crackers but tortilla chips and a wedge of additional lime will also work. This is super simple and easy to make. The sauce can be made, covered and refrigerated 1-2 days in advance. Cook the shrimp early in the day and assemble the cocktail within an hour or so of serving.

I first had to get over the fear of using lots of ketchup. I tried this recipe with a few versions that started with a different kind of tomato sauce, but nothing worked quite as well. What is most odd about this recipe is how even one-fourth of a cup of Mexican hot sauce does not end up tasting all that hot. Sure it is diluted with clam & tomato juice but I think it’s the sweetness of the shrimp that really does the trick. If you are nervous, cut back on the hot sauce but have additional limes and hot sauce available for your guests to doctor it up as they see fit. Similar dishes, including the famous campechana seafood cocktail and hang-over restorative, vuelve a la vida (return to life!), can also be prepared with the same sauce by adding some crab meat, oysters, squid and/or just about any other type of cut up seafood in place of some of the shrimp.
Key ingredients....yes, ketchup!
It is rare that I buy cooked shrimp. I much prefer cooking my own to assure it is perfectly done. My preferred method is to roast the shrimp. Yes, roast it! Shrimp is highly perishable. Select firm shrimp with a mild scent. If there is any hint of the aroma of ammonia, it is a sign the shrimp is way past its prime. Do not confuse the term "fresh" with never frozen. Truth be told, you probably will be unable to find never-frozen shrimp fresh from the ocean these days unless you have a shrimper friend or net it yourself. This is not necessarily a bad thing. Nowadays, shrimp is harvested, cleaned, and flash frozen on the boats. This makes for a fresher product, until it reaches the market.

Once it reaches the market, you are at the mercy of the handlers. If it goes right into the freezer, all is well. If you are buying from the seafood counter, there is no telling how long that shrimp has been defrosted. You are better off buying frozen shrimp and defrosting it yourself in the refrigerator. It does not take long to defrost and to roast. But if you do not have the time, medium cooked shrimp with the tails removed would be your best substitute. Shrimp are normally graded by size and count, meaning the average number of shrimp to make a pound weight. The higher the number, the smaller the shrimp.
  •  6 C Clamato juice
  • ¾ C ketchup, or slightly more
  • 7 Tb fresh lime juice
  • 1 ½ small white sweet onion, chopped (Maui or Vidalia)
  • ¼ C Mexican hot sauce (Valentine or Tamazula)
  • 1 lb. medium shrimp, tails removed (31-35)
  • 1 Tb good olive oil
  • ½ tsp kosher salt
  • ½ tsp freshly ground pepper
  • 3 avocadoes, cut into bite sized pieces
  • ¼ C cilantro, torn or chopped into small pieces
  • Extra limes for garnish
  • Saltine crackers or tortilla chips

Preheat the oven to 400 degrees F. Peel, devein and remove the tail 1lb medium shrimp (31-35 shrimp). Place them on a sheet pan with 1 Tb olive oil and ½ tsp each of kosher salt and freshly ground pepper. Mix and spread them in one layer. Roast for 8 minutes, just until pink and firm and cooked through.  Set aside to cool.  The shrimp can be roasted earlier on the day of serving.
Roasting the shrimp
Perfect ! 
For the sauce, combine 6 C Clamato juice, ¾ C ketchup, or enough to thicken juice to consistency of thin tomato sauce, 7 Tb lime juice, 1 ½ chopped sweet onion and ¼ C Mexican hot sauce (Valentine or Tamazula).  Mix thoroughly and chill. This can be made up to two days before serving.
The sauce containing the fixin's
When ready to serve, add cooled shrimp, 3 avocadoes, and ¼ C cilantro. Serve shortly thereafter in a deep margarita glass, pilsner or parfait glass with lime wedges, saltine or tortilla chips.


I love serving this as an easy appetizer. Guests always love the presentation. Wine pairing can be problematic given the acid in the Clamato juice.  You could certainly serve with a beer – an amber ale or pilsner would be terrific.  However, Champagne remains my favorite or a wonderful cold Sauvignon Blanc.

Bon Appetit!

Larue

Tuesday, August 14, 2012

Grilled Swordfish Steak with Avocado Butter

For comments, please post below or email to cookingwithlarue@gmail.com

Grilled Swordfish Steak with Avocado Butter
Serves: 8
Grilled Swordfish Steak with Avocado Butter
 This is a simple, healthy and wonderful midweek meal for family or guests. Whether grilled, broiled, baked or poached, swordfish is a favorite of first-time seafood initiates as well as enlightened connoisseurs. Swordfish's meaty texture and mild flavor are two reasons for its popularity. In addition to good taste, swordfish offers a low-fat, low-calorie choice for health-conscious consumers. Swordfish, as one of the “fatty” fish – is rich in omega-3 fatty acids felt to be beneficial to heart and brain function. It is available year-round, in most of the world’s oceans but not all fisheries in all regions are well managed. Some of the gear used accidentally catches sea turtles, seabirds and sharks. Harpoons and handlines, (a type of hook-and-line gear) are the most environmentally friendly gear types. Most markets now list source of the fish and method of catching. Look for it or ask.

If swordfish were unavailable, substitutes would include marlin, shark (not as sweet or flaky), tuna (not as sweet), sturgeon, halibut or mahi-mahi. The following marinade and use of avocado butter also works well with boneless chicken – breast and/or thigh. When buying fish, it should look fresh – shiny and clean with no discoloration. Ask to smell it. Really, it is not only allowed and acceptable, but shows your fishmonger, how committed you are to buying his products. It should smell like clean water, like the ocean or even cucumber but should never, ever smell like fish. Cooking will not improve a bad fish. If there is liquid on the fish, it should be clear, not milky. If allowed to touch it – or ask the fishmonger to do so, the meat should be resilient enough so your indentation disappears.  If it remains, move on. In raw swordfish steaks, look for a swirling pattern. The raw meat will vary a bit in color from white to ivory look to pinkish orange. The color should be consistent and not dull, with no blemished areas. Once the swordfish is cooked, it will be beige.
Perfect swordfish!
  • ½ C Soy sauce
  • ¼ C + 5 Tb fresh lemon juice. divided
  • 2 tsp lemon zest
  • 8 cloves garlic, minced, divided
  • 1 Tb Dijon mustard
  • ½ C canola oil
  • 8 – 6 oz fresh swordfish steaks
  • ½ C butter, room temperature
  • 1 large ripe avocado, peeled and mashed
  • 2 Tb parsley, minced


To make the marinade, whisk together in a small bowl, ½ C soy sauce, 2 tsp lemon zest, ¼ C fresh lemon juice, 3 cloves of garlic, minced, 1 Tb Dijon mustard and ½ C canola oil.  Place eight 6 oz fresh swordfish steaks in a glass or plastic container.  Pour the marinade over, lift fish, turn over, and make sure both sides are covered. Marinade for at least one hour; no more than 2 hours.
The marinade, pre-fish
Swordfish resting in the marinade
While the fish marinates, prepare your avocado butter. In a small bowl, mix and mash together ½ C softened butter, 1 large ripe avocado, 5 Tb fresh lemon juice, 3 minced cloves of garlic and 2 Tb minced fresh parsley. Blend well and form into shape desired and refrigerate to allow it to firm a bit. I used a small square plastic container, which I lined with plastic wrap to ease removal later.
Avocado butter
The butter in a mold--note plastic wrap to help with removal later

Avocado butter--the finished product
 Heat grill for 15 minutes – will work best if thoroughly cleaned and grates wiped lightly with canola or vegetable oil – and grates hot. You will want grill or coals at medium-high heat when adding the fish. Grill fish, brushing liberally with marinade, until done, approximately 10 minutes total time per inch of thickness. 
Swordfish on the grill with artistic smoke pattern on the left.
Once cooked the swordfish will be beige throughout. Remove from grill; allow it rest for a few minutes before serving. Either slice a chunk of avocado butter onto the swordfish steak before serving or place log on table for guests to serve themselves. The avocado butter freezes beautifully for use on your next fish or chicken. If you want to eliminate the butter – the fish also serves quite well with a squeeze of fresh lemon juice!
Avocado butter melting on the juicy swordfish
This is my favorite fish entr̩e for the non-fish eater. I have converted many with this wonderful mildly flavored rich fish enhanced with avocado and butter. Really Рwhat could be better? Try it on your seafood initiates! As you can see from the pictures, I served this with broccolini Рnot only a beautiful addition to the plate but the palate as well. Wine pairing are fairly easy Рa wonderful oaky California Chardonnay or a wonderful Oregon Pinot Noir. If you forgo the avocado butter and opt for lemon Рa Sauvignon Blanc may be best. Lastly, if you were not blessed with an abundance of west coast wines, both white and red Burgundies from France would pair beautifully.

Give this a try very soon. You will not be disappointed.

Bon Appetit!

Larue

Monday, August 6, 2012

Fresh Strawberry Pie

For comments, please post below or email to cookingwithlarue@gmail.com

Fresh Strawberry Pie
Strawberry Pie
I love a fresh strawberry pie – the kind without all the goo – or jello-like bouncy stuff (gelatin) to hold it together. Strawberry pies with pastry cream are, well, are tarts and not pies. I set out to make truly fresh strawberry pie – one that featured the strawberries alone in all their glory. In the summer, there is no sweeter or fruitier flavor than ripe berries from your nearby farmers market. The struggle in making a fresh pie is how to hold the strawberries together in the pre-baked crust so you can easily cut it. As long as you use ripe fruit, strawberry pie practically makes itself, right? It’s actually the berries’ juice (ripe or otherwise) that can make the filling soupy. Creating my ideal pie, fresh fruit held together by a glossy fruity glaze in a buttery pastry shell – hinged on getting the thickener just right.

Strawberries do not ripen after they have been harvested, so choose strawberries that have been picked fully ripened and buy when you are ready to use them. They should have a bright red color, natural shine and fresh looking green caps. Select berries that are in a dry, unstained container (stained containers may indicate over soft berries that are not freshly picked). Mold on berries spreads quickly – never leave a moldy berry next to a good one. Don’t you dare wash them until you are ready to use them – strawberries are like small sponges, ready to soak up all the water they can come into contact with, and once they’ve soaked it all up they are quicker to turn to mush and rot away. The less they are handled, the better. If storing overnight, keep them cold, 36 – 38 degree F, open container, let them breathe. No plastic bag! Leave the caps (stems) on the berries until ready to eat or use in a recipe and remove only after washing.

The most important ingredient!
The pastry shell can be made 2 days before, baked the day before, but the strawberry assembly is best done the day of serving – at least 2-3 hours ahead as it needs time to set-up. 

  • Single all-butter pastry crust– prebaked and cooled.
  • 3 lbs. fresh strawberries (about 4 pints)
  • ¾ C granulated sugar
  • 2 Tb cornstarch
  • 1 Tb fresh lemon juice
  • 1 ½ tsp pectin – use pink box (low acid) pectin
  • Pinch salt
  • Whipping cream (optional)

Make your single crust for a 9-inch pie plate well in advance so it will cool before building your pie. It can be made the day before and tightly but gently covered with foil overnight. See recipe for the all-butter pie pastry posted 7/9/12 for the Summer Honey Caramel Peach Pie (searchable on the blog). The all-butter pastry dough recipe is at the bottom of the post. As that is for a pie with a top and bottom crust, you can either make half a recipe – or make the full recipe and store the remaining dough in your refrigerator or freezer for another pie or tart.

Once you have rolled out the pastry and placed into your 9-inch pie plate, refrigerate the dough-lined plate until firm, about 15 minutes. Remove pie plate from refrigerator and use a fork to prick the bottom of the dough. Line the crust and sides with foil, and fill with pie weights or dried beans. Bake for 15 minutes. Remove foil and weight, rotate plate, and bake for 5 to 10 additional minutes, until crust is golden brown and crisp. Let cool to room temperature. Remove from oven. Let it cool completely before adding strawberries. If making the day before, once completely cool, wrap tightly in foil and store overnight room temperature.
Pie weights on the crust
Lifting the pie weights after baking
Prepare 3 lb. fresh strawberries for use by rinsing with caps still attached under a gentle spray of cool water; pat dry with a paper towel. Wash them just before you plan to use them. Remove the green caps (stems) with either a light twisting motion, with point of a paring knife or use a strawberry de-stemmer/huller (see pic). Leave strawberries whole. Select 8 ounces of the most unattractive berries – you should have about 1½ Cups. In a food processor or blender, process the berries to a smooth puree, 20 to 30 seconds, scraping down the bowl as needed.
Strawberries after removing the caps
This is the tool for "de-capping" the strawberries
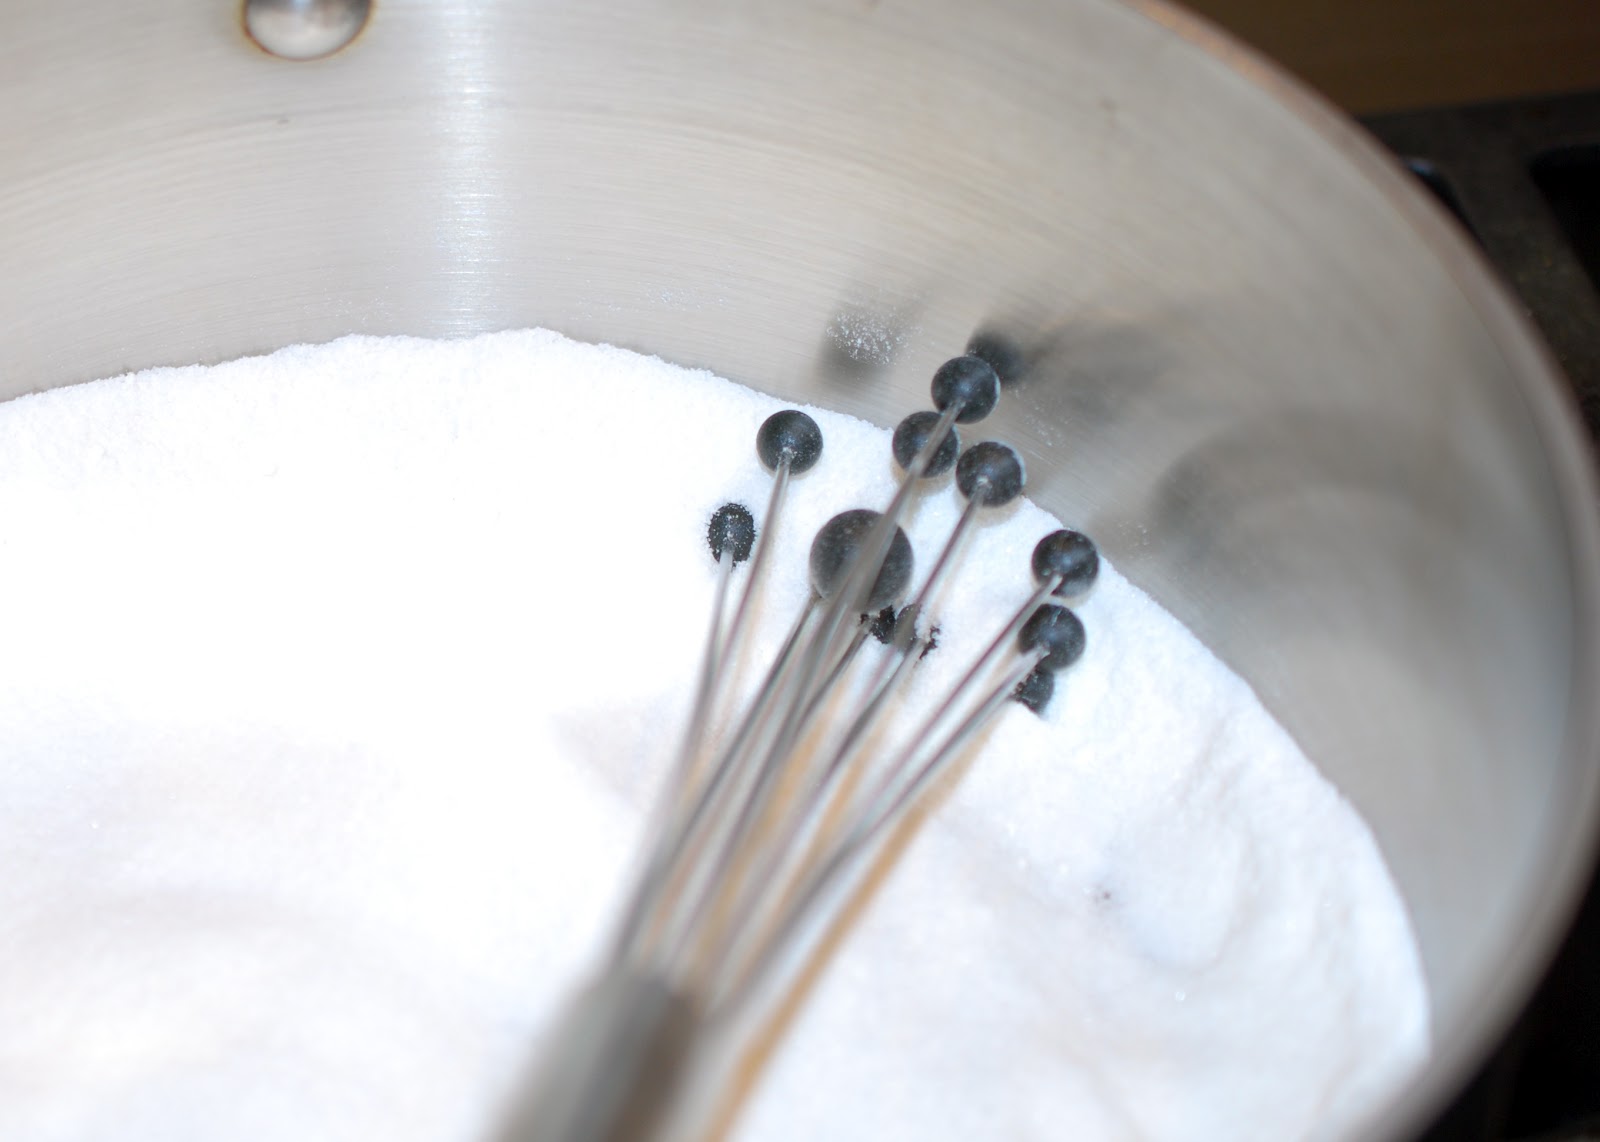
Whisk ¾ C sugar, 2 Tb cornstarch, 1½ tsp low acid pectin and pinch of salt in a medium saucepan. Stir in the berry puree, making sure to scrape the corners of the pan. Cook over medium-high heat, stirring constantly with a heatproof rubber spatula, and bring to a full boil. Boil, scraping the bottom and sides of the pan to prevent scorching, for 2 minutes to ensure that the cornstarch is fully cooked (mixture will appear frothy when it first reaches a boil, then will darken and thicken with further cooking). Transfer to a large bowl and stir in 1 Tb lemon juice. Let cool to room temperature.
Pectin, starch, etc in the bowl 
Added to the blended berries
Meanwhile, pick over the remaining berries and measure out 2-2½ pounds of the most attractive ones. Keep them whole. (Cut strawberries release too much liquid and make the pie soupy).  Add the berries to the bowl with the glaze and fold gently with a rubber spatula until the berries are evenly coated. Scoop the berries into the pie shell, piling into a mound in the center. If necessary, rearrange the berries so that holes are filled and the mound looks attractive. Refrigerate pie until chilled, about 2 hours. Serve within 5 hours of chilling.

After adding the blended strawberries
Just before serving, add a piping of whipping cream along the outer edge of the pie or decoratively add a floret of whipping cream to each serving.  This pie is best cut carefully with a serrated knife.

There is no better time of the year to make this pie!  The berries are at their best – and this pie is a wonderful relatively healthy option for a summer night treat. Big, fresh strawberries in a thick strawberry glaze piled into a piecrust and adorned with big swirls of whipped cream. What could be better!

Larue

Recipe adapted: Cooks Illustrated